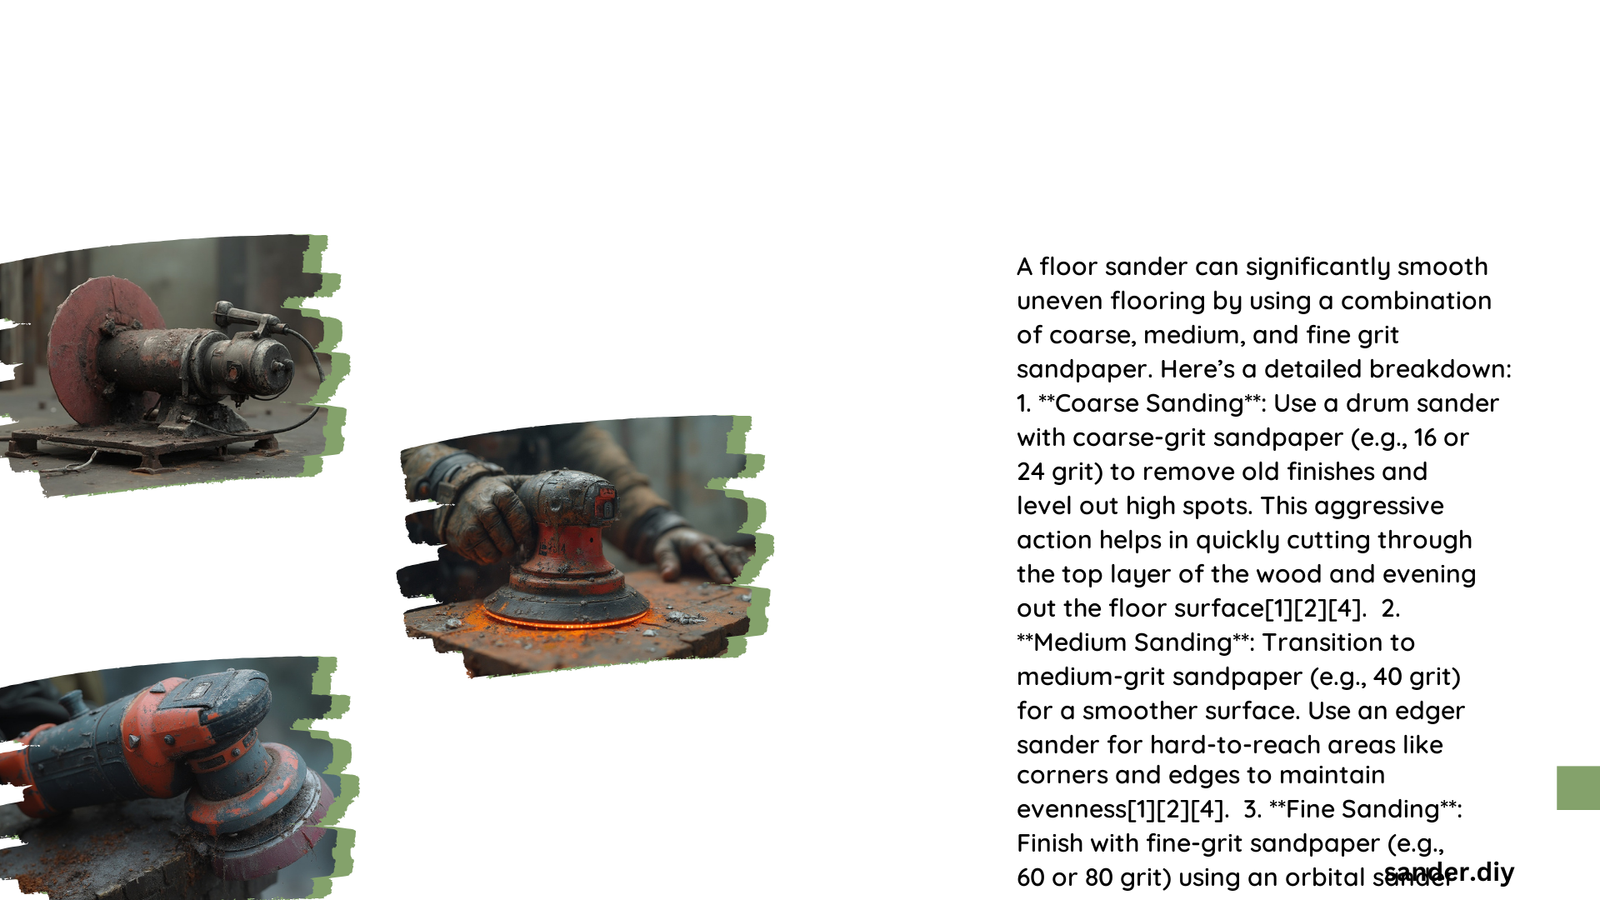
Floor sanders can effectively smooth uneven flooring, addressing issues like dips, peaks, and general unevenness. The process involves using different types of sanders and grits, starting with coarse-grit sandpaper and progressing to finer grits. Factors such as wood type, moisture content, and existing finish influence the effectiveness. While DIY is possible, professional services offer expertise and efficiency, albeit at a higher cost.
What Are the Key Techniques for Smoothing Uneven Floors with a Sander?
Smoothing uneven floors with a sander requires specific techniques:
- Diagonal Sanding: For floors with dips or low areas, sand at a 7-15 degree angle to the grain during the rough sand stage.
- Coarse-Grit Start: Begin with 24-grit or 36-grit sandpaper on a drum sander to remove old finishes and level high spots.
- Progressive Grit Sequence: Move from coarse to fine grits (e.g., 24 > 36 > 60 > 80) for optimal smoothing.
- Combination of Sanders: Use drum sanders for main areas, edger sanders for corners and edges, and orbital sanders for final passes.
What Are the Limitations of Floor Sanders?

Floor sanders have certain limitations:
- Maximum Height Differences: Typically handle up to 1/8 inch (3 mm) in a single pass.
- Multiple Passes Required: Severe unevenness needs multiple passes with progressively finer grits.
- Wood Type Sensitivity: Softer woods require more careful sanding to avoid gouging.
How Do Costs Compare Between DIY and Professional Sanding?
Here’s a cost comparison between DIY and professional floor sanding:
| Aspect | DIY | Professional |
|---|---|---|
| Equipment Rental | $100-$220 per day | Included in service |
| Labor Costs | Your time | $2-$5 per square foot |
| Time Required | Several days to a week | 1-3 days |
| Additional Costs | $150-$400 for materials | Usually included |
What Factors Influence the Effectiveness of Floor Sanders?
Several factors impact the effectiveness of floor sanders:
- Wood Type: Density and grain patterns affect sanding process.
- Moisture Content: High moisture can lead to warping or cupping.
- Existing Floor Finish: Type and condition influence removal difficulty.
- Grain Direction: Sanding with the grain is crucial, except during initial rough sanding.
What Are the Recommended Grit Sizes for Different Sanding Stages?
Recommended grit sizes for different sanding stages:
- Coarse Grit (24-36): Removing old finishes and leveling
- Medium Grit (60-80): Smoothing the surface
- Fine Grit (100-120): Achieving a polished finish
- Extra Fine Grit (120-240): Final touches and hard-to-reach areas
How Can You Ensure the Best Results When Using a Floor Sander?
To ensure the best results with a floor sander:
- Start with the right grit for your floor’s condition.
- Sand in the direction of the wood grain.
- Move the sander steadily and evenly across the floor.
- Vacuum between sanding passes to remove dust.
- Progress through finer grits for a smoother finish.
- Use edge sanders for corners and hard-to-reach areas.
- Finish with an orbital sander for the smoothest possible surface.
By following these techniques and considering the various factors, you can effectively use a floor sander to smooth uneven flooring. Whether you choose to DIY or hire a professional, understanding these aspects will help you achieve the best possible results for your floor restoration project.
References:
1. Floor Sanding Guide: How to Fix Uneven Wooden Floors
2. The Basics of Sanding Wood Flooring
3. Using Hand Sanding to Smooth Out Uneven Floors
