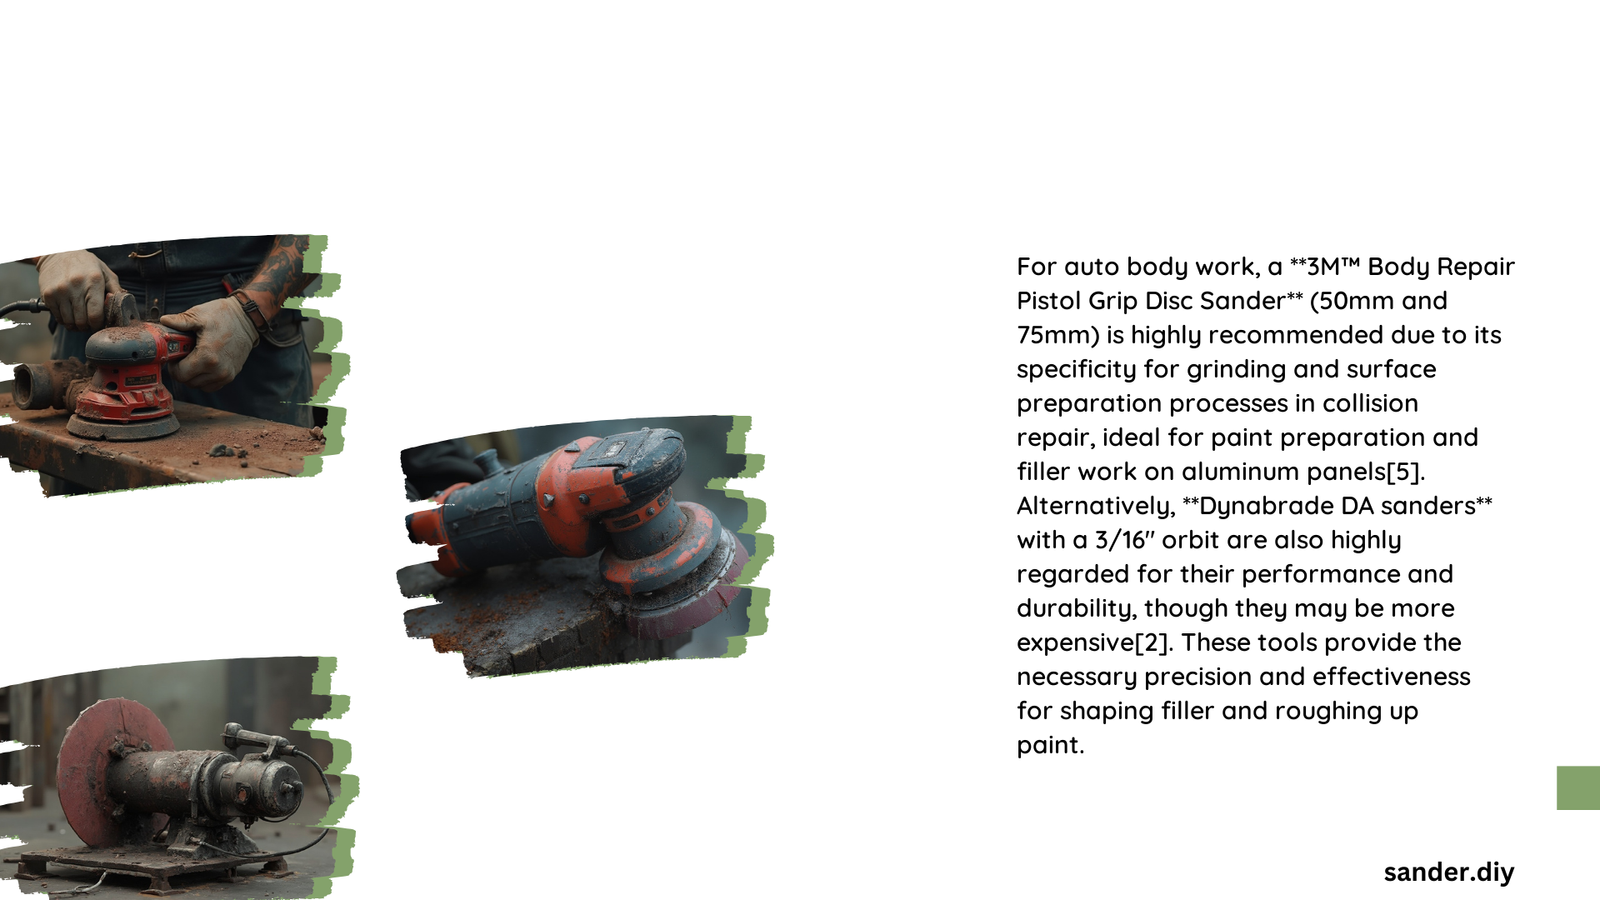
A disc sander for auto body work is a crucial tool for automotive professionals and DIY enthusiasts. It’s designed to efficiently remove rust, smooth surfaces, and prepare metal for painting. With various disc sizes, motor powers, and speed settings, these sanders are versatile tools that can handle different stages of auto body repair. This guide will explore the key features, types of sanding discs, optimal settings, and costs associated with disc sanders for auto body work.
What Are the Key Features of a Disc Sander for Auto Body Work?
When selecting a disc sander for auto body work, several essential features should be considered:
-
Disc Size: Most auto body sanders use 5\” or 6\” discs. The 6\” size is particularly popular for its balance of coverage and maneuverability.
-
Motor Power: While exact power ratings vary, look for sanders with robust motors that can maintain consistent speed under load. Brushless motors, like those in Mirka DEROS sanders, are known for their efficiency and power.
-
Weight and Ergonomics: A well-balanced, lightweight sander reduces user fatigue during extended use. Ergonomic designs with comfortable grips are crucial for precision work.
-
Speed Control: Variable speed settings allow for versatility across different tasks and materials.
-
Dust Collection: An effective dust extraction system is vital for maintaining a clean work environment and protecting your health.
What Types of Sanding Discs Are Best for Auto Body Work?

Choosing the right sanding disc is crucial for effective auto body work. Here’s a breakdown of the types:
| Grit Level | Purpose | Material |
|---|---|---|
| 80-100 | Initial rust removal | Zirconia Alumina |
| 120-150 | Surface smoothing | Aluminum Oxide |
| 220-320 | Final preparation before painting | Aluminum Oxide |
- Coarse Grits (80-100): Ideal for heavy rust removal and initial shaping.
- Medium Grits (120-150): Used for smoothing surfaces after coarse sanding.
- Fine Grits (220-320): Perfect for final preparation before painting.
Materials like zirconia alumina are excellent for heavy-duty rust removal due to their durability and aggressive cutting action. Aluminum oxide discs are versatile and suitable for general-purpose sanding.
What Are the Optimal Speed Settings for Auto Body Sanding?
The optimal speed settings for a disc sander in auto body work depend on the task at hand:
-
Rust Removal: Higher speeds around 10,000 RPM are effective for heavy rust removal. However, maintain control to avoid surface damage.
-
Surface Smoothing: Lower speeds between 3,000-6,000 RPM are ideal for finer grits and final smoothing.
-
Material Considerations:
- Metal and composites can handle higher speeds.
- Delicate surfaces or fine-grit sanding require lower speeds to prevent scratching or overheating.
Always start at a lower speed and gradually increase as needed, monitoring the surface closely to avoid damage.
How Much Does a Quality Disc Sander for Auto Body Work Cost?
The cost of a disc sander for auto body work can vary significantly based on brand, features, and quality:
- Sander Unit:
- Entry-level: $50-$100
- Mid-range: $100-$200
-
Professional-grade: $200-$500+
-
Sanding Discs:
- Cost per pack (20-50 discs): $5-$20
-
Varies based on grit, size, and brand quality
-
Additional Accessories:
- Dust collection systems: $50-$100
- Vacuum adapters: $20-$50
- Extra sanding pads: $10-$30 each
Consider investing in a high-quality sander if you frequently work on auto body projects. Brands like Mirka, 3M, and Dynabrade are known for their durability and performance, justifying their higher price points.
What Are the Best Practices for Using a Disc Sander in Auto Body Work?
To get the most out of your disc sander and achieve professional results:
-
Start with Coarse Grits: Begin with lower grit numbers for rust removal and initial shaping.
-
Progress Gradually: Move to finer grits in stages, not skipping more than one grit level at a time.
-
Maintain Consistent Pressure: Apply even, moderate pressure to avoid creating uneven surfaces or deep scratches.
-
Keep the Sander Moving: Don’t stay in one spot too long to prevent heat buildup and potential damage.
-
Use Proper Safety Equipment: Always wear safety glasses, a dust mask, and hearing protection.
-
Clean Between Grits: Remove dust and debris between grit changes for the best results.
-
Check Your Work: Regularly inspect the surface under good lighting to ensure even sanding.
By following these practices, you’ll achieve smoother, more professional results in your auto body work.
How to Choose the Right Disc Sander for Your Auto Body Projects?
Selecting the ideal disc sander for your auto body work involves considering several factors:
- Project Scope:
- Occasional DIY: A mid-range sander might suffice.
-
Professional use: Invest in a high-end model with advanced features.
-
Power Requirements:
-
Look for sanders with at least 3 amps for efficient rust removal and surface preparation.
-
Ergonomics:
- Choose a model that feels comfortable in your hand for extended use.
-
Consider weight distribution and grip design.
-
Dust Collection:
-
Opt for sanders with efficient dust extraction to maintain a clean work environment.
-
Brand Reputation:
- Research brands known for quality in auto body tools.
-
Read user reviews and professional recommendations.
-
Warranty and Support:
-
Check the warranty period and available customer support.
-
Compatibility:
- Ensure the sander is compatible with the sanding discs you plan to use.
By carefully considering these factors, you can choose a disc sander that meets your specific auto body work needs and provides long-term value.
